Create or edit a menu #
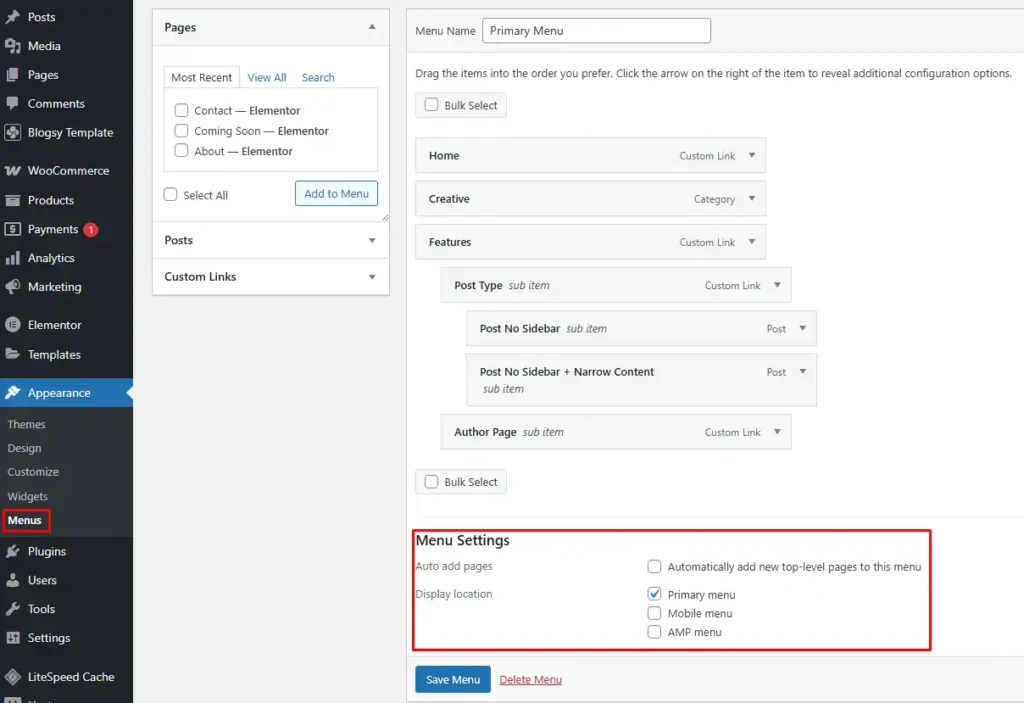
- Go to Appearance → Menus.
- To create a new menu, click create a new menu, give it a name (for example, “Primary Menu”), and click Create Menu.
- Add items from the left panels (Pages, Posts, Categories, Custom Links) and arrange them using drag‑and‑drop to build your desired structure.
At the bottom of the screen, under Menu Settings, check Primary menu to assign this menu to Blogsy’s primary header location.
Click Save Menu when you are done.
Use a menu inside an Elementor header #
If you are building a custom header with Blogsy Templates + Elementor, select your menu directly in the Elementor navigation widget.
- Edit your Blogsy header template with Elementor.
- Add the Navigation (or Menu) widget to the header.
- In the widget’s Content tab, choose the menu you created (for example, “Primary Menu”).
Responsive tips for large menus #
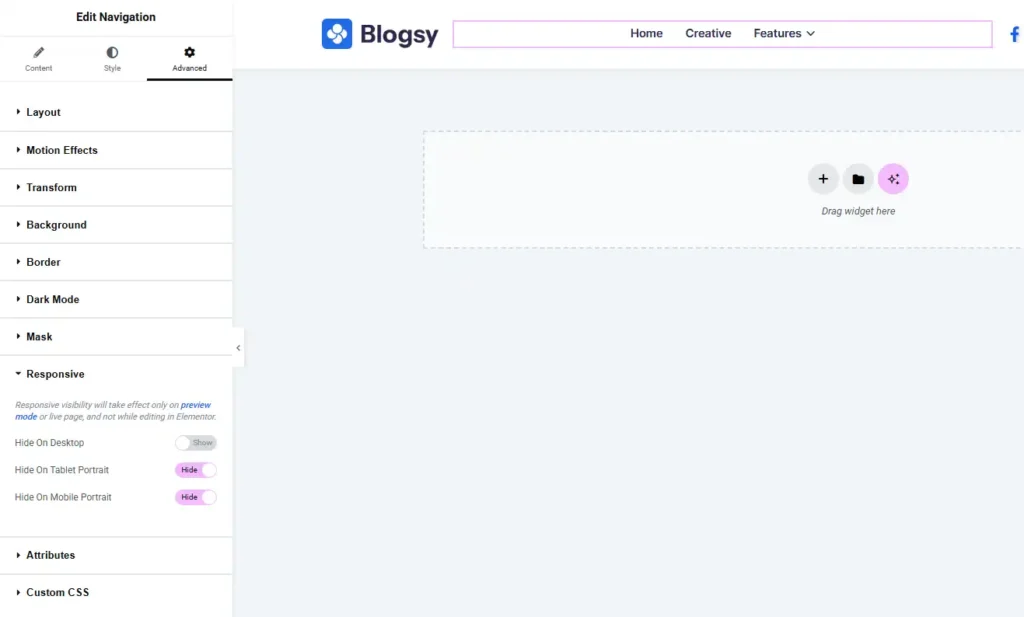
If your header has many items, they might not fit comfortably on tablet and mobile screens. You can hide the Elementor navigation widget on smaller devices and use an alternative mobile menu (such as an off‑canvas or icon‑based menu).
- Select the Navigation widget in Elementor.
- Go to the Advanced tab → Responsive section.
- Enable Hide On Tablet and Hide On Mobile (or Hide On Tablet Portrait / Hide On Mobile Portrait) to hide this desktop menu on small screens.
This approach keeps your primary desktop navigation clean while allowing you to design a separate, mobile‑friendly menu using other widgets or layouts in your Blogsy header templates.