The Wishlist feature lets users save their favorite products to view or purchase later. In your theme’s header, you can show a wishlist icon with a counter to improve user experience and engagement.
🔧 Wishlist Options #
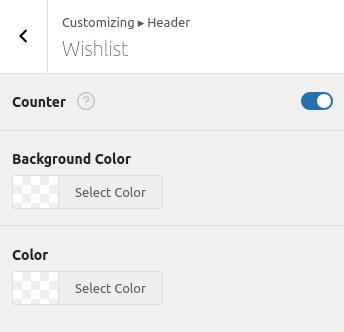
Navigate to Customizer → Header → Wishlist
You can customize how the wishlist icon appears in the header:
- Counter – Enable or disable the wishlist count.
- Counter Background Color – Pick a background color for the counter bubble.
- Counter Color – Choose the text color for the counter.
These settings let you match the wishlist icon with your website’s design.
🚀 How to Activate the Wishlist #
To start using the wishlist feature, make sure to:
- Install and activate the free plugin: WCBoost – Wishlist
Without this plugin, the wishlist header element won’t work.
📄 Set a Wishlist Page #
You can choose where your wishlist will appear on the site. To set the page:
- Go to WooCommerce > Settings > Wishlist tab.
- Under Wishlist Page, choose any page where you want the wishlist to be displayed.
- The selected page will show your customer’s saved products.
⚙️ Other Wishlist Settings #
From the same Wishlist settings tab in WooCommerce:
- Add to wishlist behaviour
- ✅ Use AJAX to add products without reloading the page.
- 🔁 Optionally redirect to the wishlist page after adding a product.
- Button Display for Existing Items
- Choose how the “Add to wishlist” button appears when a product is already in the wishlist.
- Wishlist Page Layout Options
- Customize the table columns: Product price, stock status, quantity, and more.
- Enable or disable social sharing options at the bottom of the wishlist.
This makes it super easy to let your users save, track, and share their favorite products — all from a customizable and stylish header element.