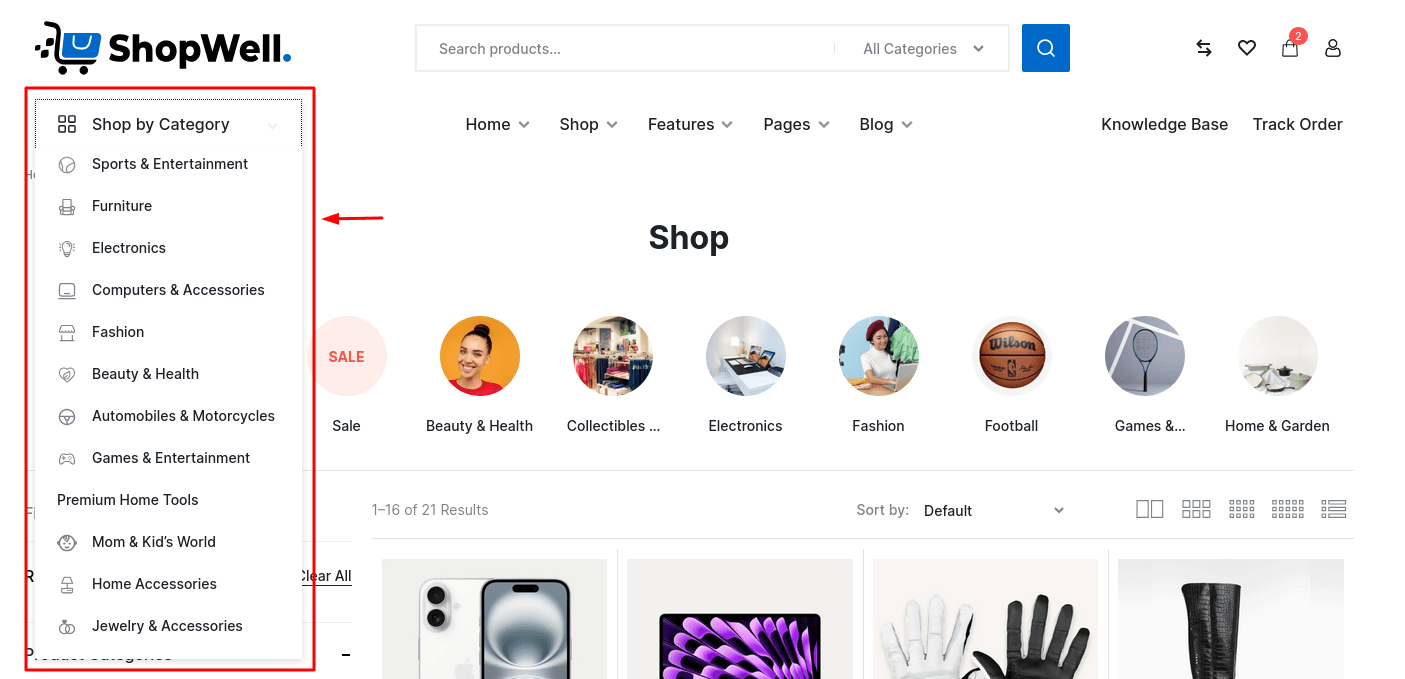
The Category Menu allows you to display specific post or product categories in your site’s navigation.
🪜 Step-by-Step Instructions #
Just like we did for the Secondary Menu, you’ll first need to follow the same steps from the Primary Menu tutorial to:
- Create a new menu
- Add menu items (in this case, categories)
- Arrange them in the order you prefer
📄 Step 1: Show Category Options in the Menu Editor #
By default, WordPress only shows basic menu items like Pages and Posts. To add Product Categories, Categories, or other custom sections:
- On the Menus page, scroll to the top.
- Click on the Screen Options tab (top-right corner).
- Check the boxes for the types of items you want to display, such as:
- Product categories
- Categories
- Custom Links
- WooCommerce endpoints, etc.

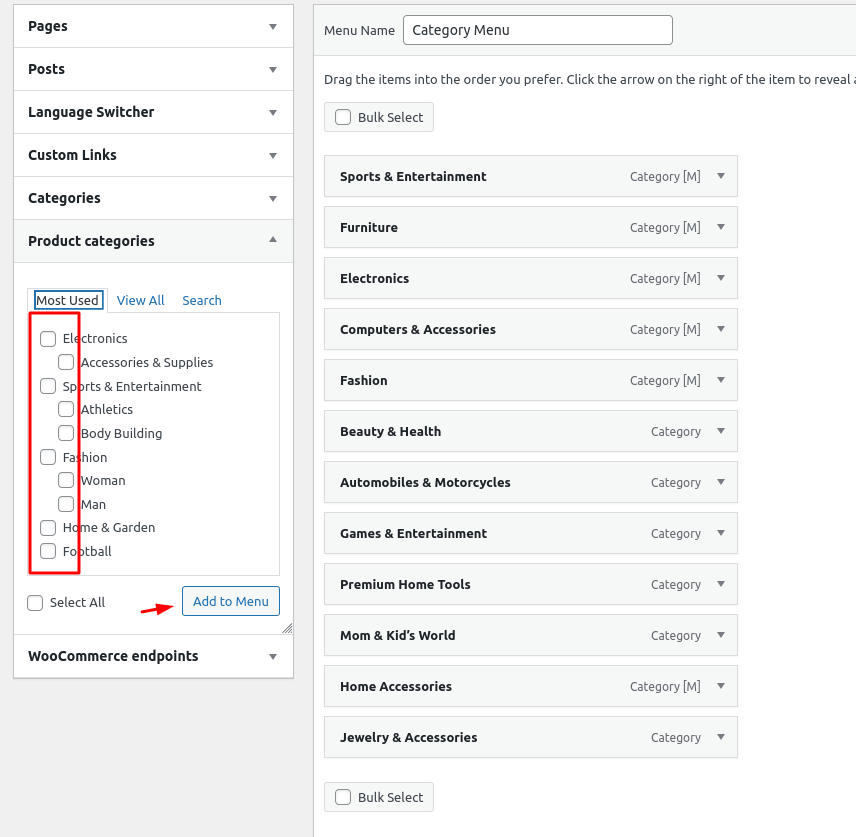
➕ Step 2: Add Categories to the Menu #
Once you’ve enabled the desired sections:
- Expand the Product Categories or Categories panel.
- Select the items you want to include in the menu.
- Click Add to Menu to insert them into the menu structure.
Then drag and drop the items to arrange them just like you did in the Primary Menu tutorial.
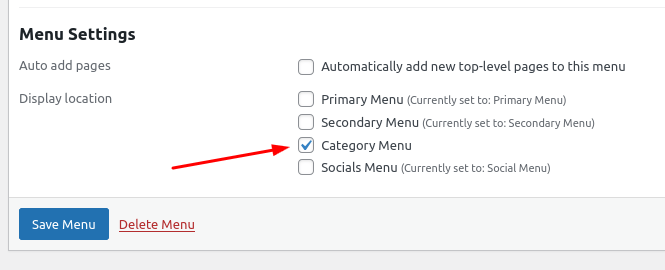
📍 Step 3: Set the Display Location #
- Scroll down to Menu Settings.
- Under Display Location, select Category Menu.
- Click Save Menu.
✅ That’s It! #
Your Category Menu is now set up and will appear in the theme’s designated category menu area, usually in the header or sidebar.