Blogsy Pro lets you inject a fully custom Elementor template at the top or bottom of each single post.
You can use this area to show related posts, ads, opt‑ins, or any other content you design.
1. Create a Related Posts template #
- In the dashboard, go to Blogsy Templates → Add New Blogsy Template.
- Name it something like Related Posts.
- Click Edit with Elementor.
- In the Elementor panel, open the Blogsy Widgets group.
- Drag a Blogsy posts widget (e.g., Post Elastic) into your layout.
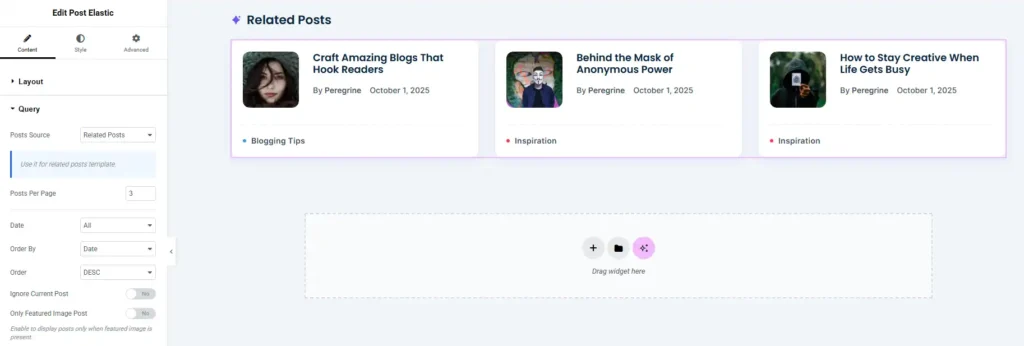
2. Configure the widget to show related posts #
- Select the posts widget and open its Query section.
- Set Posts Source to Related Posts (or Related, depending on the label shown in your widget).
- This tells Blogsy to automatically pull posts related to the current article (usually by category or tag, based on the widget logic).
- Adjust other query options as needed:
- Posts Per Page – e.g., 3 related posts.
- Order By / Order – e.g., newest first.
- Style the cards from the Layout and Style tabs to match your design.
- Publish the template.
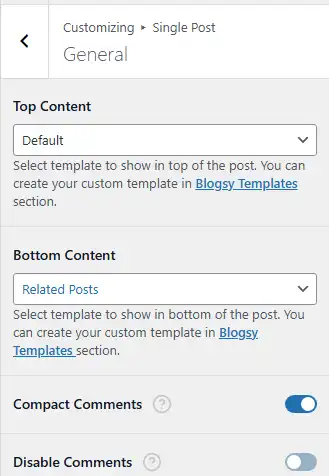
3. Assign the template to single posts #
- Go to Appearance → Customize → Single Post → General.
- Under Top Content, choose your Related Posts template if you want it above the post content.
- Under Bottom Content, choose the same template (or a different one) if you want it below the post content.
- Click Publish to save your changes.
From now on, the chosen template will automatically appear on all single posts in the selected position, showing dynamically generated related posts while still being fully editable through Elementor.