Skip to the content
Peregrine KnowledgebasePeregrine Knowledgebase
  • Go to website
  • Go to website
  • Yelp
  • Facebook
  • Twitter
  • Instagram
  • Email

How can we help you?

Hester Pro

21
  • Theme Installation
  • Steps after Activating Hester Pro theme
  • Add widgets in sidebar or in Footer widget area
  • Enable front page sections
  • Home Sections
    • Slider Section
    • Info section
    • Service section
    • About section
    • Team section
    • Testimonial section
    • Pricing plan section
    • Call to Action section
    • Gallery section
    • Fun-facts section
    • Feature section
    • Steps to start section
    • Work history / timeline section
    • Workflow section
    • Clients section
    • Extra section
    • Design options

Bloglo Pro & BlogHash Pro common

2
  • Add social media profile links in header
  • Post Formats

ShopWell Pro

58
  • Download & Install ShopWell Addons Plugin
  • How to Install and Activate Required and Recommended Plugins
  • Import Demo
  • Configure Product Images in WooCommerce
  • πŸ”¨ Product Archive Builder
  • πŸ› οΈ Single Product Builder
  • How to change homepage products in the ShopWell free theme?
  • Customizer
    • General
    • Styling
    • Typography
    • Topbar
    • Header
      • Topbar
      • Campaign Bar
      • Header Layout
      • Header specific pages
      • Overriding the Header on Specific Pages
      • Header Builder
      • Sticky Header
      • Header Background
      • Header Elements
        • πŸ” Configuring the Header Search in ShopWell Theme
        • πŸ‘€ Account
        • ❀️ Wishlist
        • πŸ”„ Compare
        • πŸ›’ Cart
        • πŸ“ Custom Text
        • Preferences πŸŒπŸ’±
        • View History
        • πŸ“Œ Primary Menu
        • πŸ“Œ Secondary Menu
        • πŸ—‚οΈ Category Menu
        • πŸ” Hamburger Menu
      • Mega Menu
        • Mega Menu Vertical
        • πŸ” Mega Menu Hamburger
        • 🧩 Configure Mega Menu
        • Mega Menu Horizontal
    • Footer
      • Footer
      • Overriding the Footer on specific pages
  • Elementor
    • βš™οΈ Elementor Basic Configuration Guide
    • Templates
    • πŸ“’ Popup Builder
    • ShopWell Builder
    • Widgets
      • πŸ›οΈ Product Deals Grid / Carousel
  • Pages
    • πŸ“„ Creating a Page
    • βš™οΈ Display Settings
  • Woocommerce
    • πŸ›’ Getting Started with WooCommerce
    • πŸ“„ WooCommerce Pages
    • πŸ›’ Customize the Checkout Page
    • πŸ“¦ Create an Order Tracking Page
    • πŸ‘€ My Account Page Setup in WooCommerce
    • πŸ›οΈ Catalog Mode
  • Shop
    • WishList & Compare
    • πŸ’± Currency Settings
    • πŸ›οΈ Shop Display
    • 🧩 Product Filters
  • Mobile
    • Topbar
    • Header
    • Footer
    • Miscellaneous
  • Home
  • Docs
  • Pricing plan section
View Categories

Pricing plan section

1 min read

To enableΒ Pricing plan sectionΒ on your homepage go to:
Appearance >> Customize >> Home sections >> Pricing plan section and enable Pricing plan option.

Basic settings: #

After enabling this section you can set/change:

  • Sub-heading
  • Heading
  • Description
  • Number of columns
  • Choose Style of the Pricing plan table from 5 available styles

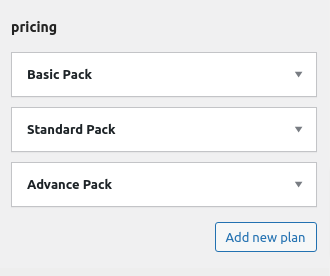
To add pricing plan/table click on ‘Add new plan’ button.

Add new plan

Pricing tables settings #

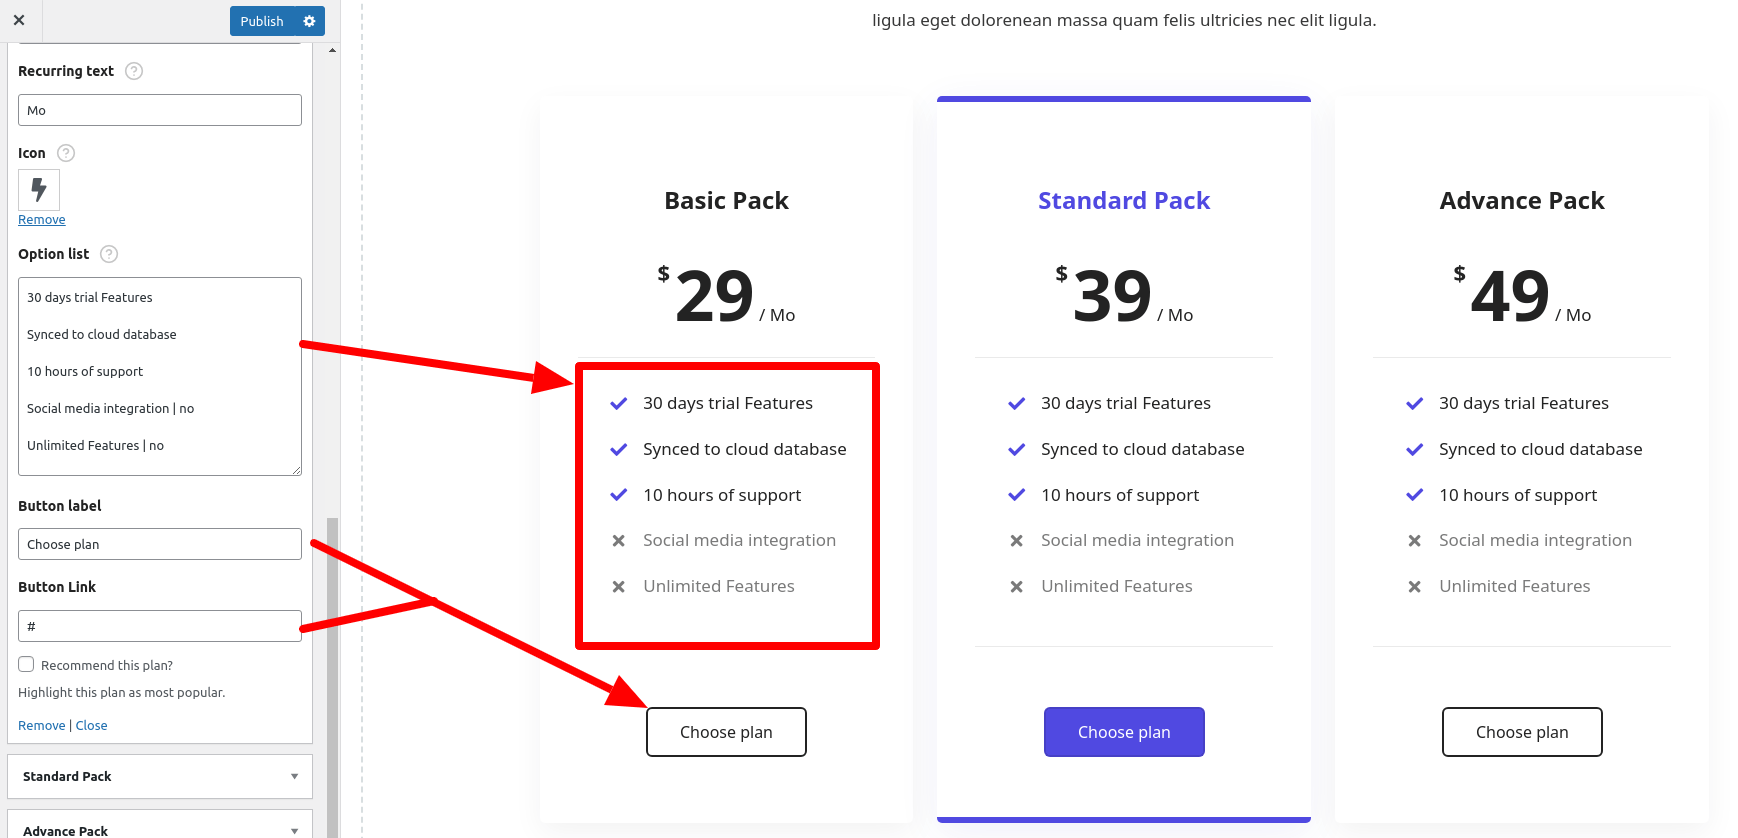
Repeater slide has following options to create pricing plan

  • Plan group: ( we’ll discus it later )
  • Title: Pricing table Title
  • Price: Price amount of the plan
  • Currency: Currency Symobl or text e.g. $ or USD
  • Recurring text: monthly/mo, yearly/yr etc
  • Icon: This will display with pricing plan style 3 & 4
  • Option List: Features available/unavailable in plan. Write each option/feature in new line. If a Feature not available in a plan
    add ‘no’ at the end of the option e.g. :
    Lifetimes updates | no
  • Button label & link: Plan button text and URL.
  • Recommend this plan? : Check this checkbox to highlight pricing/plan table as recommended/popular.
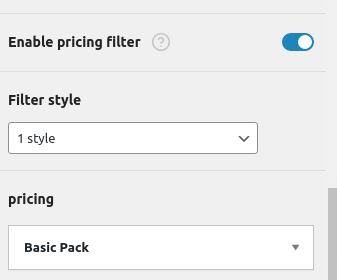
Plan group: #

You can display pricing tables group by Monthly / yearly OR Annual / Lifetime to do so first enable pricing filter. You can also change filter style (choose from 5 available styles). Let’s select style 3 for now.

Now create 3 pricing tables (as shown above screenshots) that has Plan group named ‘monthly’.
Again create 3 more pricing tables and assign Plan group name ‘yearly’.

Table of Contents
  • Basic settings:
  • Pricing tables settings
    • Plan group:

© 2025 Peregrine Knowledgebase

Powered by WordPress

To the top ↑ Up ↑